
Steroid_Kit
Steroid Flows›Building Your First Flow
Building Your First Flow
This guide walks you through building a complete flow from scratch: a webhook-triggered pipeline that uses an LLM to summarize supplied PR text, creates a GitHub issue from explicit request inputs, posts to Slack, and returns complete action envelopes. Map narrower output fields only after inspecting real test results.
Open the Builder
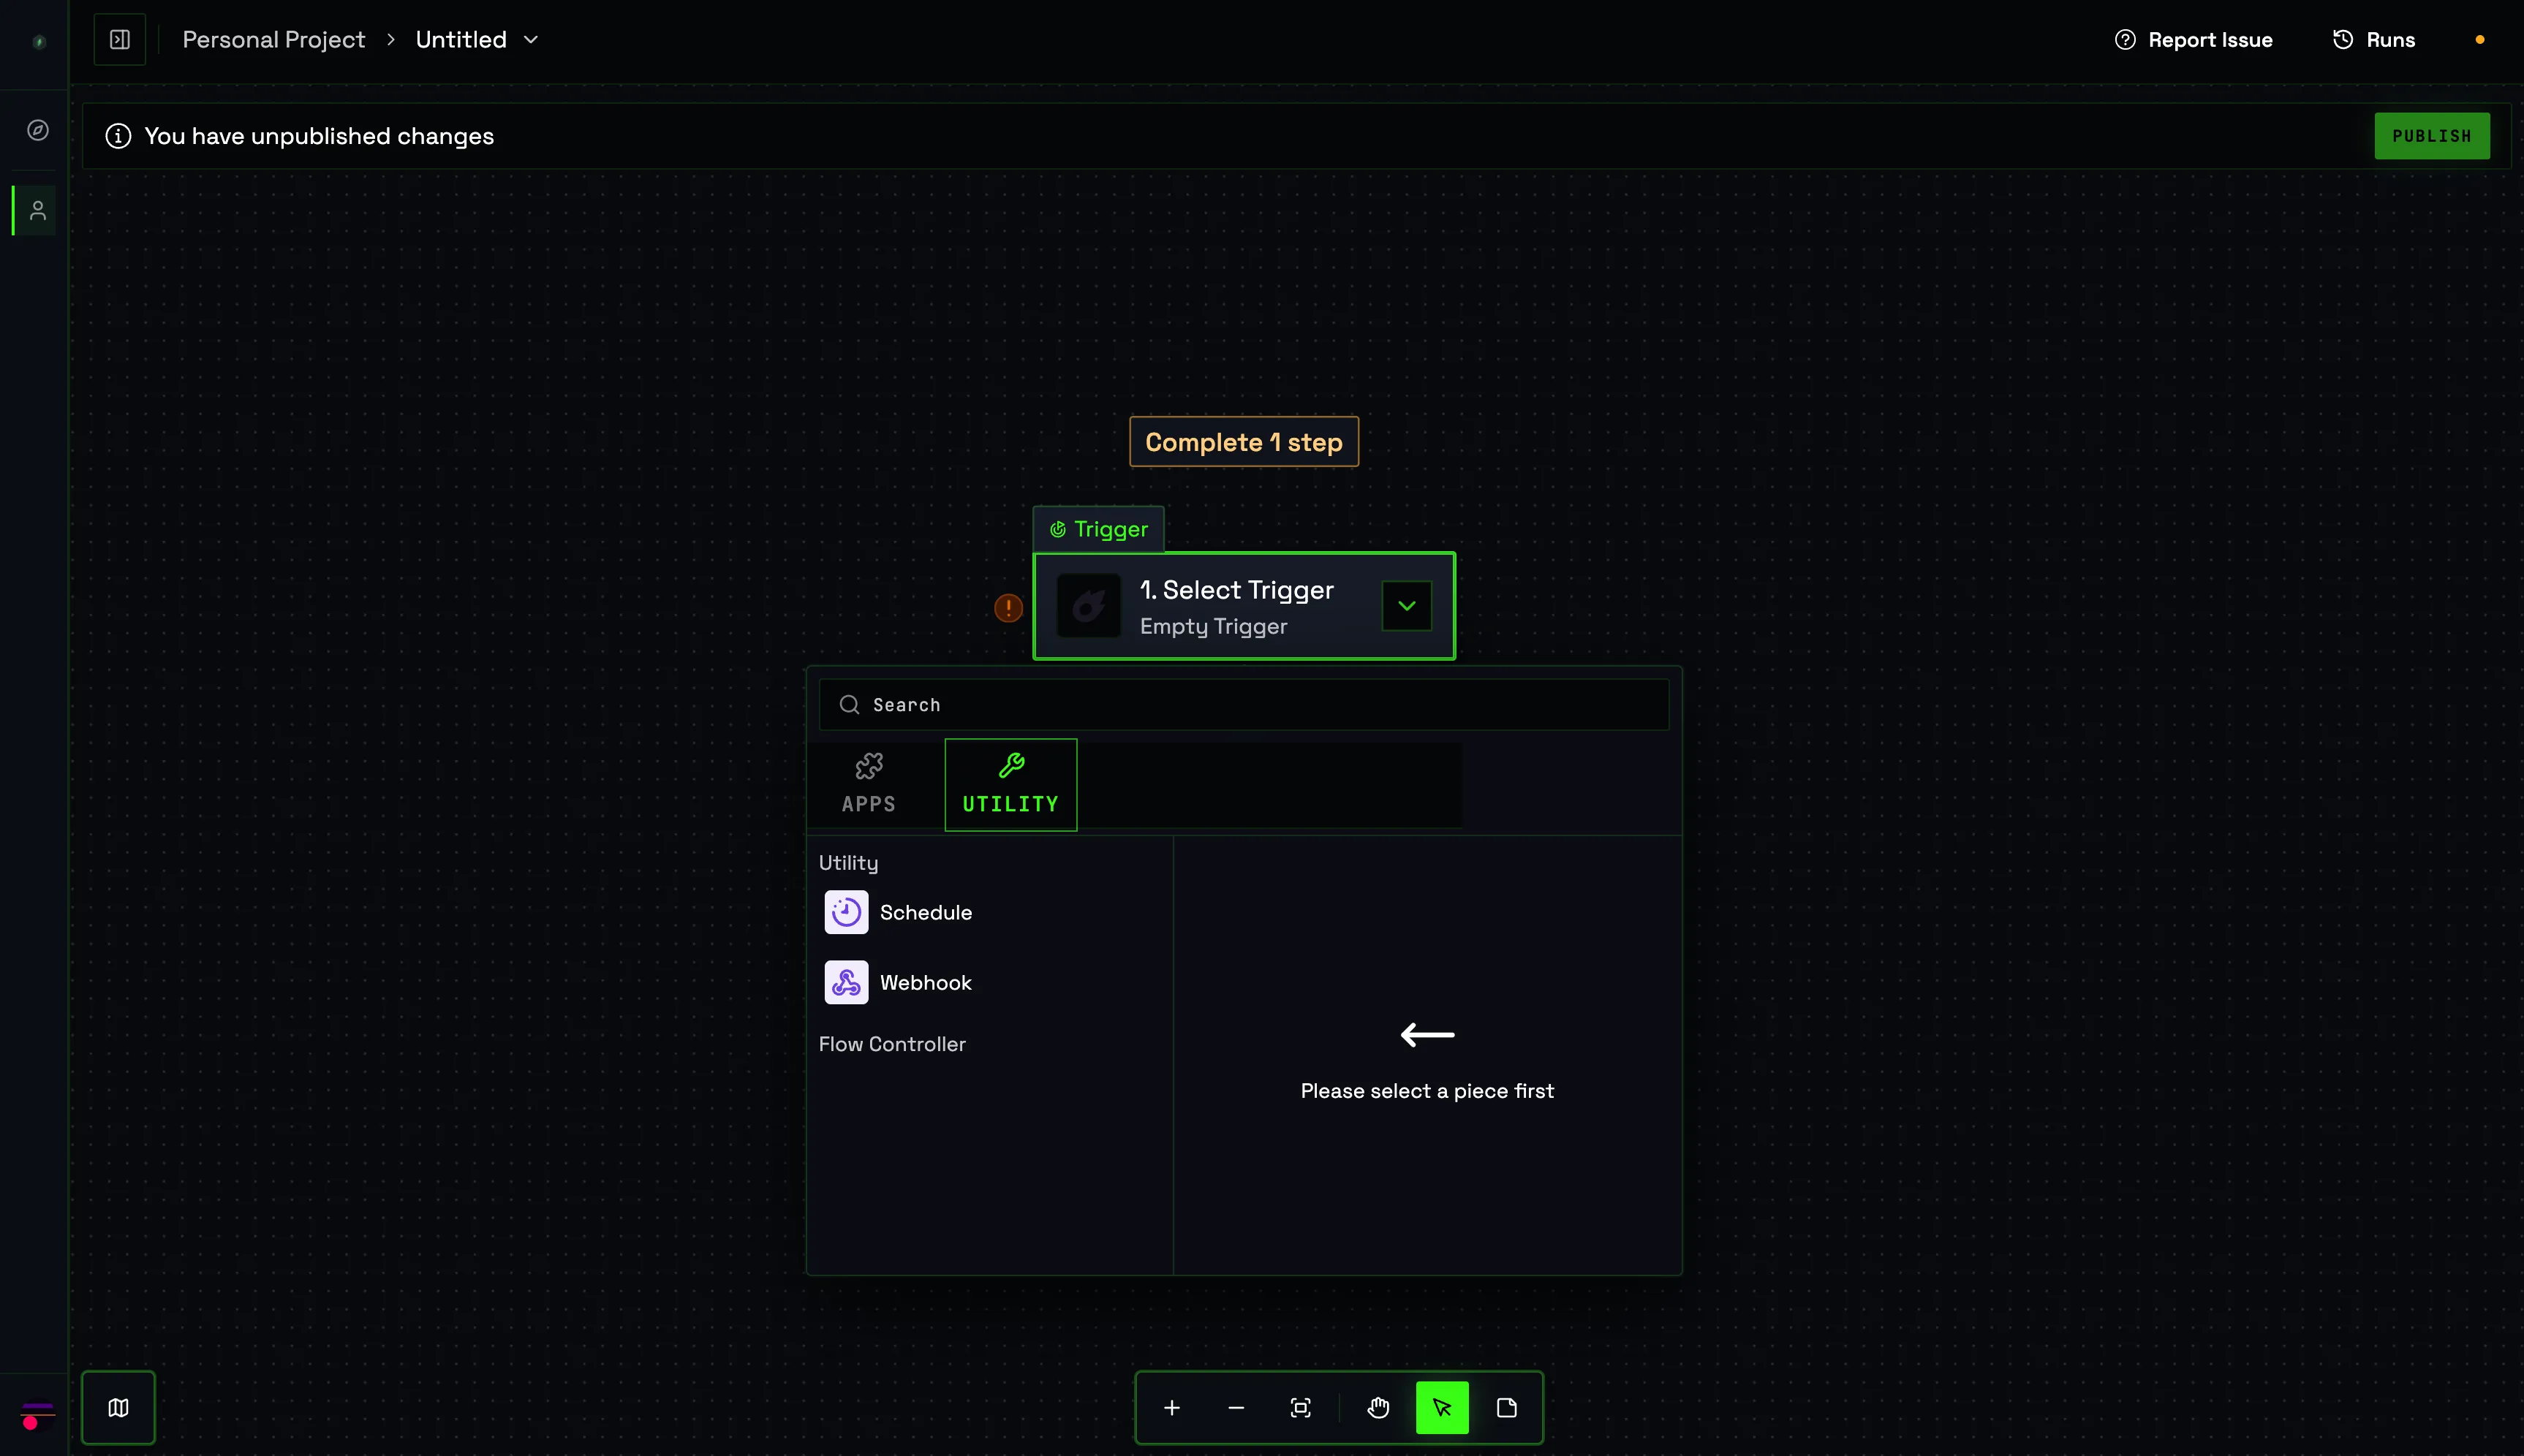
Navigate to Flows in the left sidebar of the Steroid web UI and click New Flow. The canvas opens with a single empty trigger node at the top. Every flow starts here — the trigger defines how the flow is invoked.
Add a Trigger
Click the trigger node to open the trigger picker. Choose the trigger type that matches how you want to invoke this flow.
| Trigger Type | Use When |
|---|---|
| Webhook | You want to call the flow via HTTP POST from code, Cursor, or another flow |
| Schedule | You want the flow to run automatically at a fixed interval or cron time |
| Manual | You want to trigger the flow from the UI during development or one-off runs |
| Another Flow | This flow is a sub-routine called by a parent flow |
For this guide, select Webhook. Once selected, Steroid generates a unique endpoint URL for this flow. The URL is shown in the trigger node panel — copy it for later. Any JSON body sent to that URL becomes available as {{trigger.body.field}} in downstream steps.
Add Steps
Click + Add Step below the trigger to open the step picker. You can add MCP blocks or LLM nodes in any order. Steps execute top to bottom.
Step 1 — LLM Node (Summarise the PR)
- In the step picker, choose the Invoke LLM piece and its plain
invoke_llmaction. - Select an IDE and Model advertised by an eligible connected client; authenticate that agent before testing.
- Write your prompt in the Prompt field (see example below).
- For typed generation, choose the separate
invokeStructuredLlmaction and providejsonSchema; there is no universal structured-output toggle. - Click Save.
Prompt — PR summariser
You are a senior engineer writing release notes.

Given the following pull request diff, produce a concise summary suitable
for a GitHub issue body. Include: what changed, why it matters, and any
known risks.

PR title: {{trigger.body.pr_title}}
PR diff:
{{trigger.body.diff}}
Optional schema for the separate structured action
{
  "type": "object",
  "properties": {
    "summary":     { "type": "string" },
    "risk_level":  { "type": "string", "enum": ["low", "medium", "high"] },
    "labels":      { "type": "array", "items": { "type": "string" } }
  },
  "required": ["summary", "risk_level", "labels"]
}
Step 2 — GitHub Block (Create Issue)
- Click + Add Step and choose MCP Block.
- Select the GitHub MCP server.
- Choose
issue_write; setmethodtocreate. - Provide separate
ownerandrepoinputs plus the title/body shown below. - Resolve
github.personal_access_tokenthrough the piece's credential property or an existing project connection reference. - This example does not guess a nested LLM text path. Inspect the test output/data picker before mapping a generated summary into a text field.
GitHub block config
{
  "arg_method": "create",
  "arg_owner": "{{trigger.body.owner}}",
  "arg_repo": "{{trigger.body.repo}}",
  "arg_title": "{{trigger.body.pr_title}} — review request",
  "arg_body": "{{trigger.body.diff}}"
}
Step 3 — Slack Block (Post Notification)
- Click + Add Step and choose MCP Block.
- Select the Slack MCP server.
- Choose
slack_post_message. - Set
channel_idto the channel ID from the trigger, not a#channelname. - Configure
slack.bot_tokenand the server's requiredslack.team_id. - Compose a confirmation from explicit request inputs; inspect tested outputs before adding an issue URL.
Slack block config
{
  "arg_channel_id": "{{trigger.body.channel_id}}",
  "arg_text": "Review flow ran for {{trigger.body.owner}}/{{trigger.body.repo}}"
}
Step 4 — Return Response
- Click + Add Step and choose Return Response.
- Set the
statusto200. - Return complete step envelopes first. The example assumes internal names
step_1(LLM),step_2(GitHub) andstep_3(Slack); use actual data-picker names in your flow.
Return Response config
{
  "llm_result": "{{step_1}}",
  "github_result": "{{step_2}}",
  "slack_result": "{{step_3}}"
}
Test Your Flow
Before publishing, use the built-in test runner to verify each step. Click the test button in the top-right of the canvas to open the test panel, paste a sample payload, and click Run Test.
Test payload
{
  "owner":    "acme",
  "repo":     "backend",
  "channel_id": "C0123456789",
  "pr_title": "Optimise worker pool memory usage",
  "diff":     "- pool.size = 100\n+ pool.size = dynamic(cpu_count * 4)\n..."
}
NOTE
These tests create real GitHub issues and post real Slack messages. Use a test repository/channel, confirm recipients and credentials, and account for retries. UI step testing is different from the agent builder's real E2E draft validation/repair loop.
Publish
Once all steps pass the test run, click Publish in the top bar. Enter a description and valid JSON in the trigger-body-schema field; the visible{} is a placeholder, not an entered value. The schema is descriptive metadata, not automatic payload validation. Publishing activates the selected version.
- The base webhook is asynchronous; append
/syncfor JSON or/sync-streamfor SSE. - Published/live and search-indexed are distinct. Agent publication reports an
indexedoutcome; a UI signature alone does not prove SRP discoverability. - You can continue editing the flow after publishing — changes are saved as a draft until you publish again.
- The flow's run history and logs are accessible from the flow detail page.
WARNING
Agent creation includes reuse search, plan approval/revision/rejection, real tests and bounded in-place repair. Use repair_workflow with guidance, reset_credentials or a real trigger_payload as needed. Failed builds can retain a resumable draft; inspect acceptance warnings and indexed=false rather than treating publication as proof that all checks/indexing succeeded.